
This Guide will show you how to either eliminate the need to turn that orange switch on/off with every ride, or eliminate the switch all together!
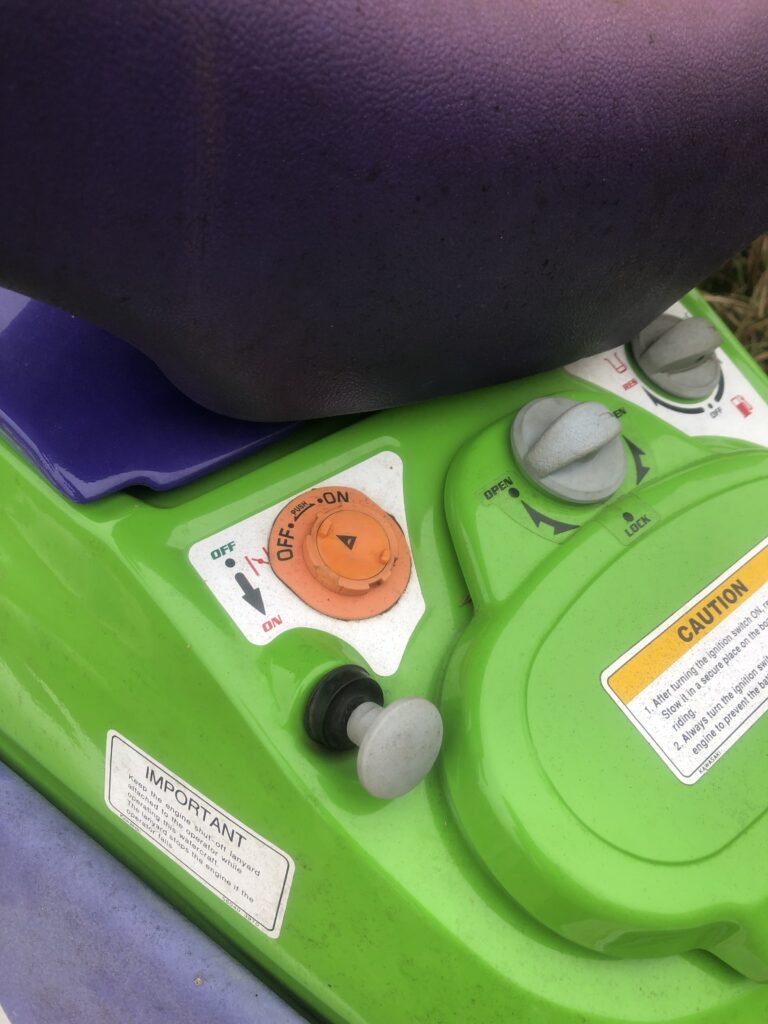
Ever find yourself wondering why this orange switch even exists? Us too…
These orange switches do two things: Disable Spark When Set Off, and Provide Power to Gauges and Start/Stop Switch when Set on.
For those who are interested Here is a 900ZXI Wiring Diagram.
Disabling Spark is already done by the stop switch (in the exact same way), this guide shows you how to wire the Jet Ski So that the Stop switch provides power to gauges and start button, only when safety lanyard is inserted.
What you will need;
12mm
10mm
Phillips
Razor Blade/Snips
2-3 feet of 16 AWG minimum wire
Wire Splicing Supplies (Solder and Heat Shrink are the best but if you want to use bubblegum or zip-ties that’s on you – at least throw some electrical tape on it).
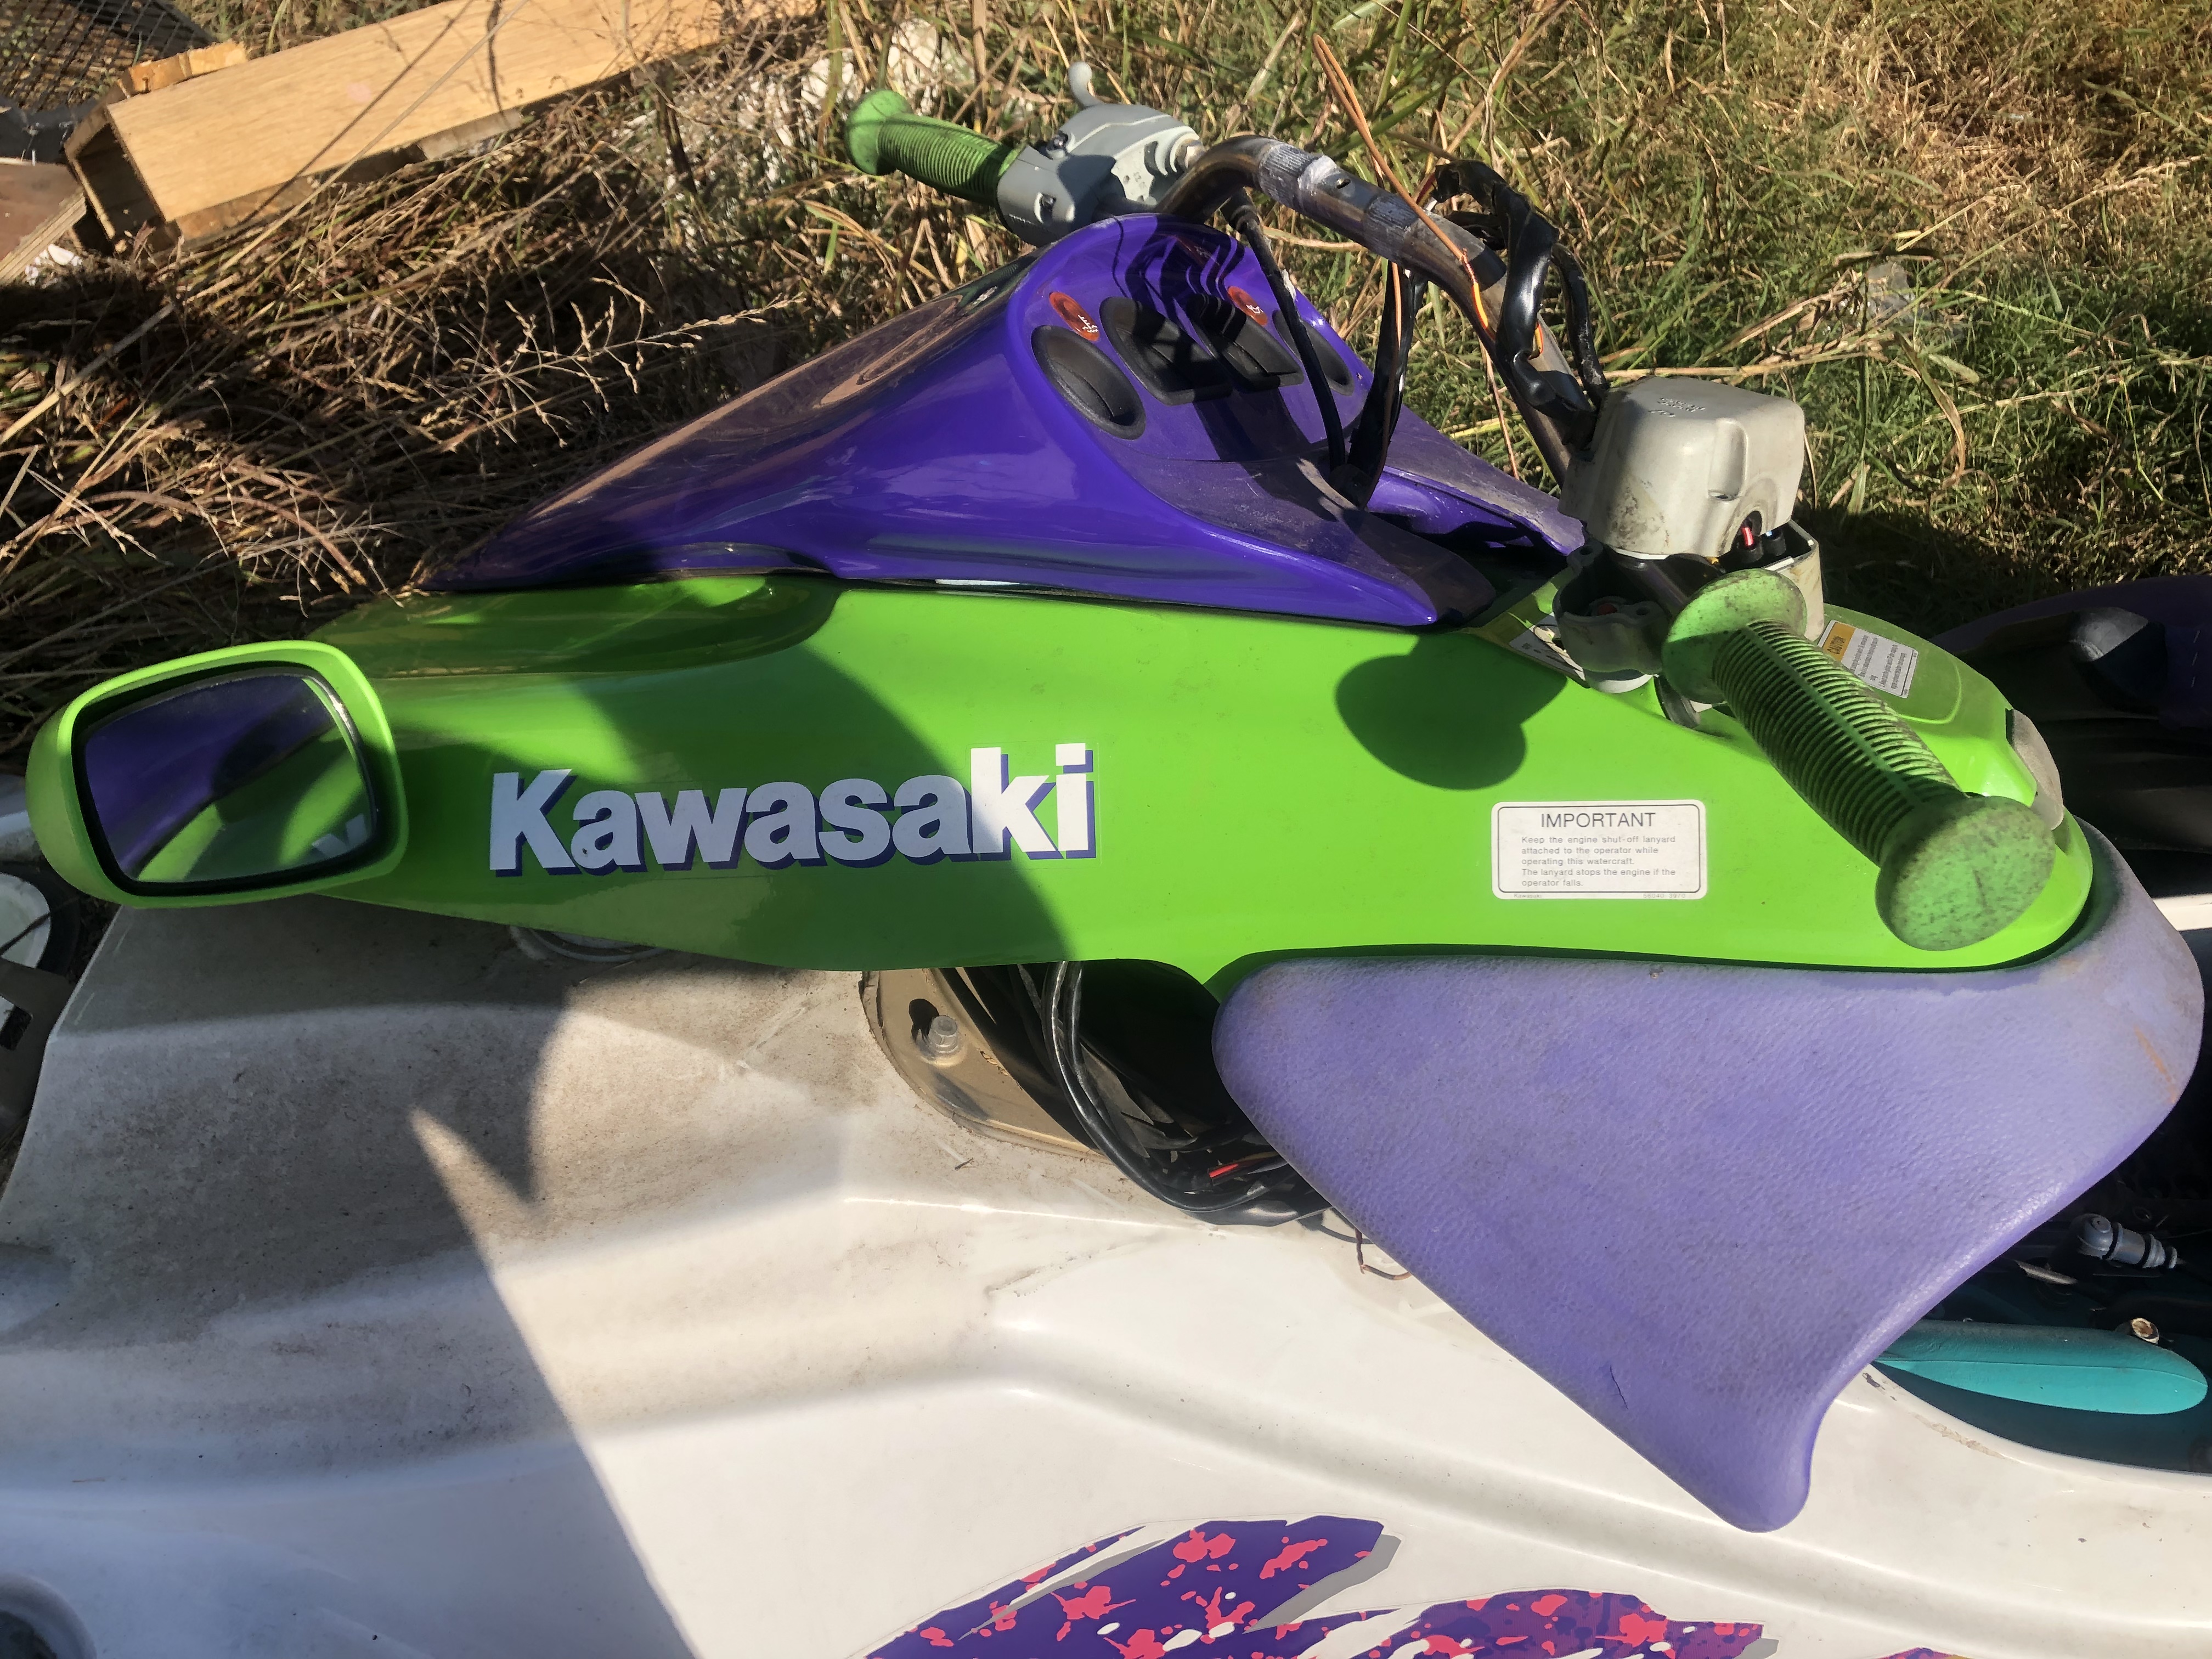
To access the wiring you’ll need to remove handle bars and the cover that houses small glove box.
Handlbar camps take 12mm and you may need Phillips to remove handlebar cover if you don’t have the zipper style.
You can leave handlebar accessories attached you just need to remove from clamp so that you can lift cover up and over clamp like so:
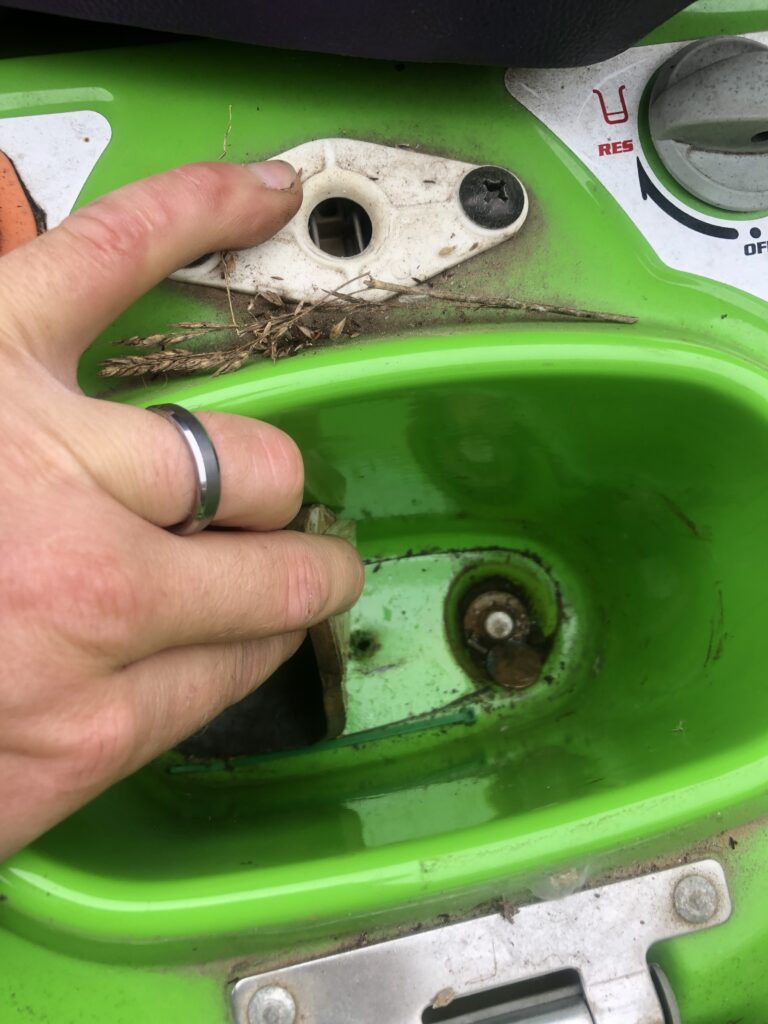
The cover is attached to hull via 4 10mm bolt, two directly in front you can see when front storage compartment hood is opened, The other two are inside glove box:
You will Need to access two wiring harnesses, One will be the wiring to the Orange Switch, and the other will be the wiring to the start/stop switch- the start stop switch may have two harnesses coming out of it if your ski has electronic Trim Switch- the wiring for the start/stop switch has black, white, red/white and yellow/red wires.
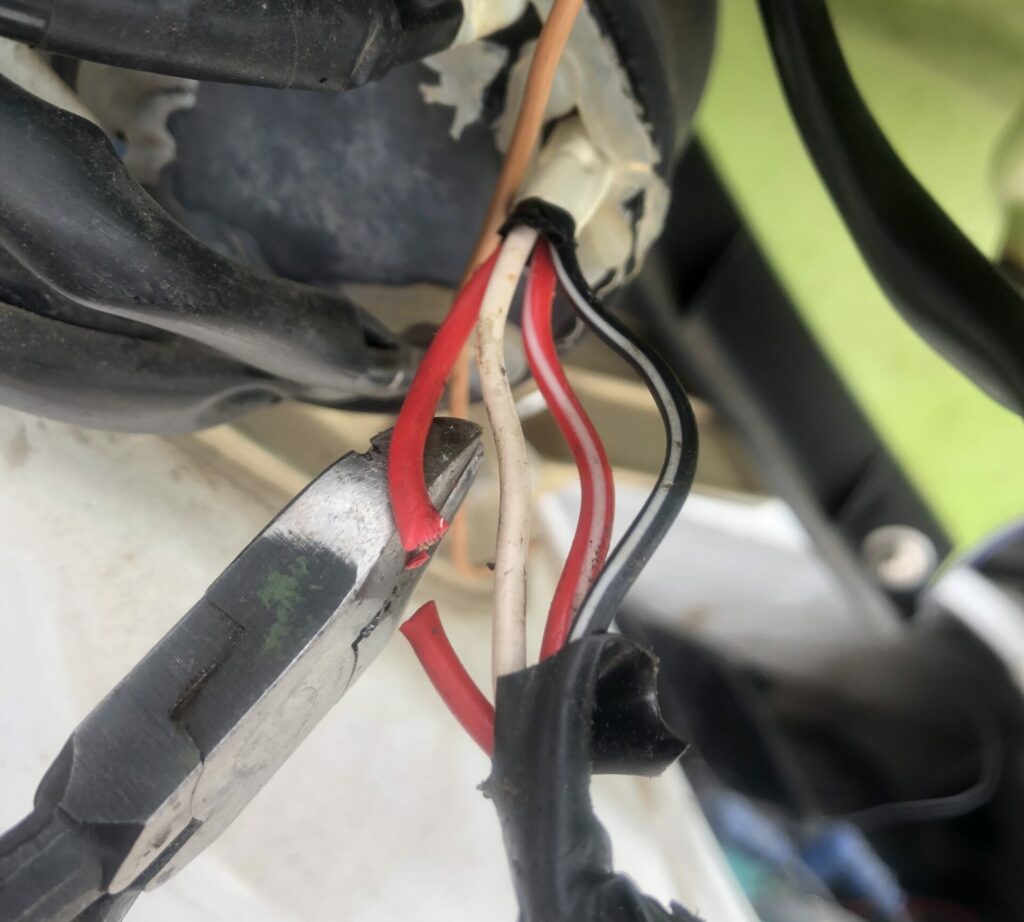
On the Orange Switch wiring you will need to at least cut the red wire- we suggest using our kit made specifically to replace this switch with a primer If using our kit you can cut all wires, and remove the key switch (By the way these go for about $100 on eBay…), otherwise cut only the solid red wire and your key switch will still work to disable the ignition system- but if you leave it on you won’t have to worry about draining the battery. Be sure to tape off the ends of loose wires- except the red one – that will be used to supply our stop switch with power.
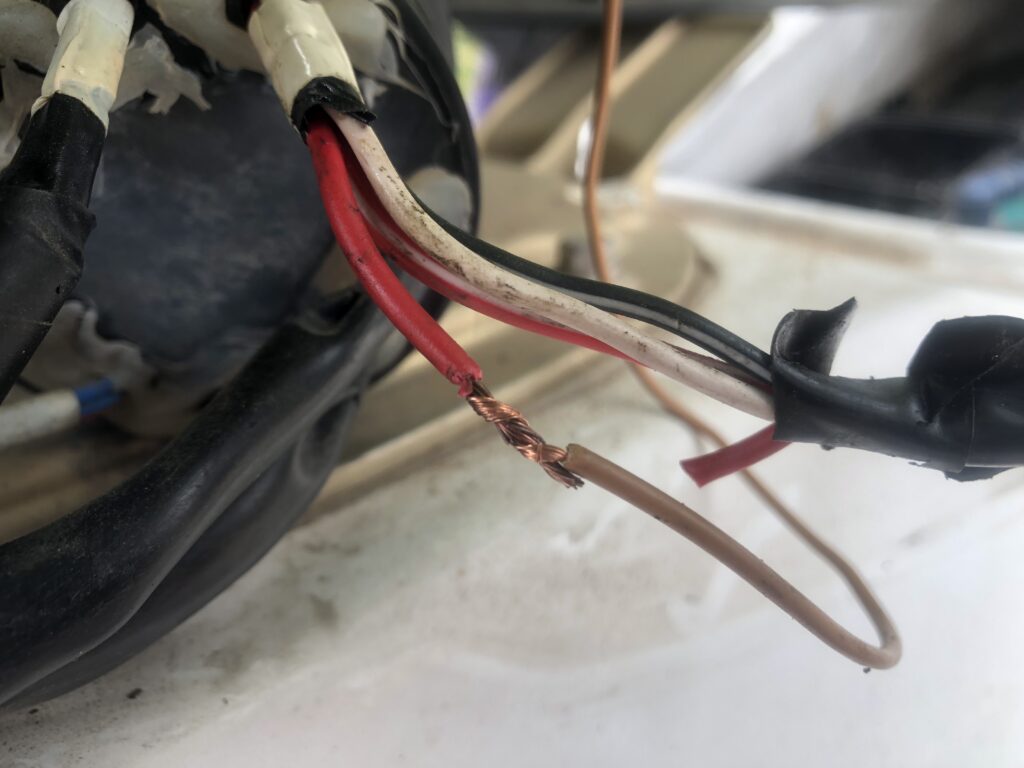
As shown above, you will connect the red wire to your supplied 16 awg minimum wire, route this wire up to your start/stop switch harness. At the start/stop switch harness you’ll need to cut open the black rubber protector without damaging any internal wires, do this approximately 7 inches from the start/stop switch itself, you should find (in addition to the single yellow/red starter wire, another yellow/red starter wire coming from the switch, then looped back into the switch, cut this wire right at the apex of the loop:
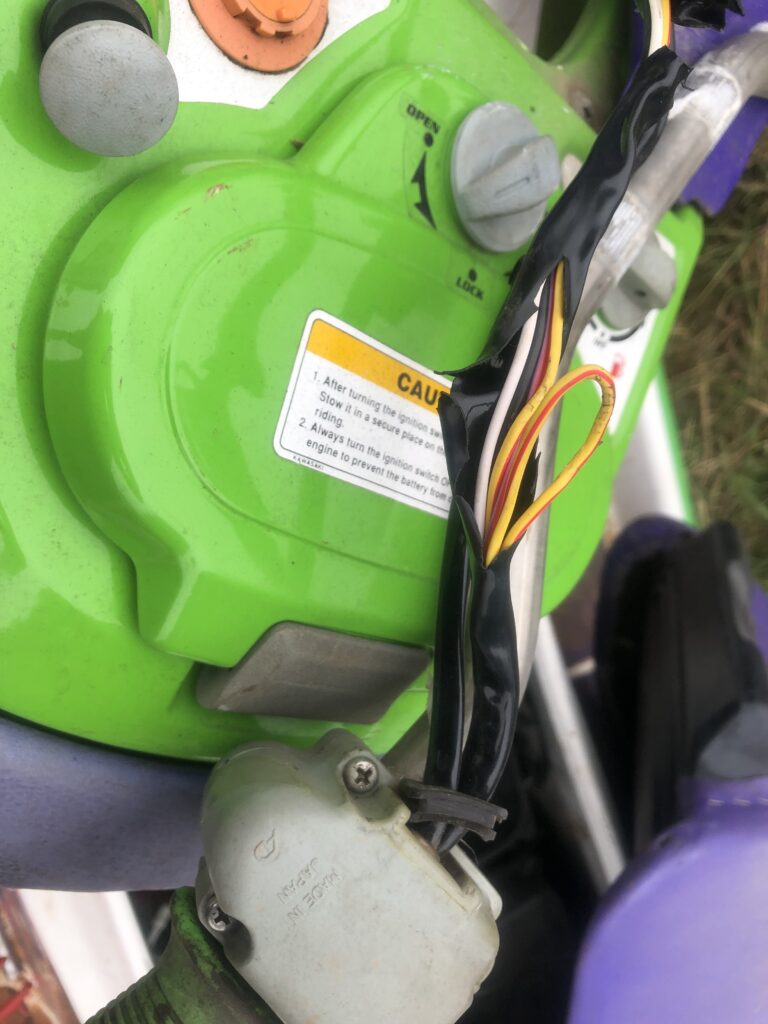
The looped yellow/red wire connects to the gauges and previously the orange key switch through the stop switch, and the other end feeds the start switch. To verify which side is which you can use a multimeter, or simply temporarily connect each cut end to your newly routed wire one at a time and press the start switch- which ever side activates starter when connected is clearly the start switch side.
Connect the side that runs to the stop switch to your newly routed wire.
Strip back some insulation from the red/white wire in your start/stop switch harness, and connect the start switch side of the yellow/red wire to it.
Leave a Reply